Ultimate Guide to Achieving Glowing Skin with Face Massage. Face Rolling 101.
Why Should You Massage Your Face?
Facial massages aren’t just enjoyable , they’re also one of the most effective steps in your daily skincare routine. Performing a DIY facial massage is ideal for reducing the visible signs of aging, as it’s known to address skin concerns like wrinkles, a lack of elasticity, and sagging. They can also work to increase the penetration of your skincare products so you can receive maximum benefits from the active ingredients you apply to your skin.
As if their anti-aging benefits aren’t already enough to convince you, recent studies have proven that facial massages can offer a boost in circulation and bring some much-needed oxygen to your skin tissues, resulting in a visibly brighter, healthier-looking complexion. Lymphatic drainage massages remove excess fluid and toxins through the lymph nodes to make the skin less puffy and more glowing.
How to give yourself a lifting face massage with a facial roller.
Face Rolling 101
Facial roller massages are recommended to be used daily or at least several times a week, as they can instantly enhance your overall complexion.
Ready to give it a try? We’ve asked Monika Konczalska M.D Ph.D., a dermatologist and co-founder behind the Carbonnique facial roller brand, to share 8 easy steps on how to give yourself a lifting face massage with this sculpting beauty tool. Performing all these steps only takes between 3–8 minutes, so have fun with it! Afterward, you’ll notice a more radiant, contoured complexion you’ll love.
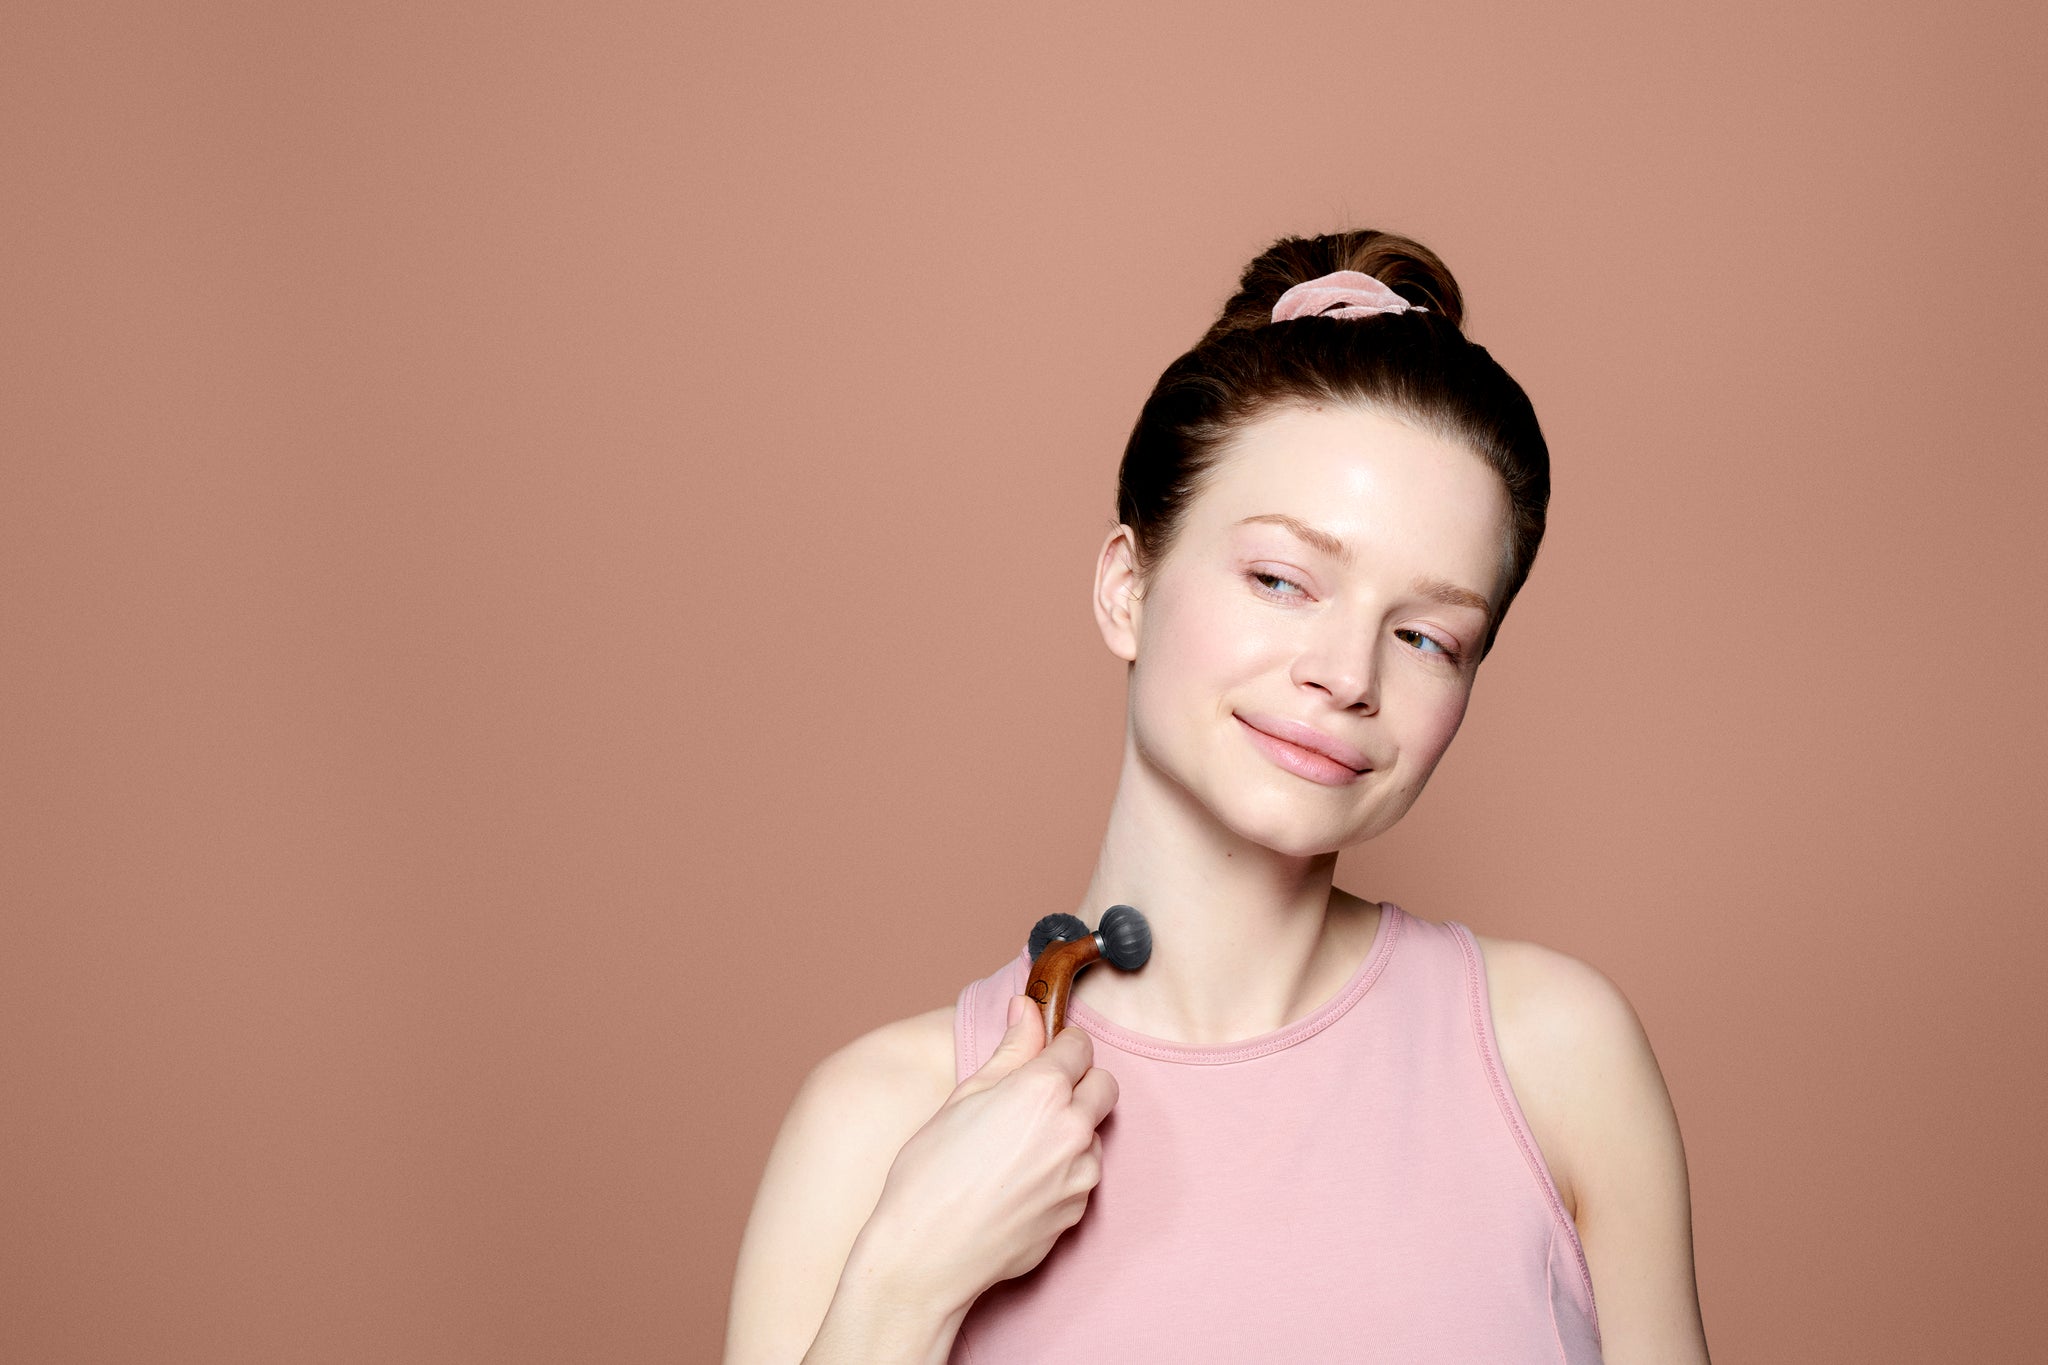
STEP 1 RELEASE NECK TENSION
Wash your face and make sure your roller is clean before starting.
Then, take 2–3 drops of your favorite facial oil or serum and apply it evenly to your face and neck. You’ll have the easiest time using your roller if you give your skin some slip to prevent any hard tugging.
We tend to forget about our neck in our skincare routines, so that’s where I recommend starting this massage. Our necks and shoulders hold a lot of tension, especially after looking down at our phones too much (we’re all guilty of it). The good news is that your facial roller will help release the pressure and noticeably relax your neck with just a couple of movements.
A helpful tip is to keep your roller next to your computer and use it throughout the day when your neck needs some TLC.
Starting with your neck, hold the Carbonnique roller by the tail end and glide it upwards while applying gentle pressure (see photo below for a visual example). Repeat this movement several times before moving to the next area of your face. Moving it in upward motions will work to lift and tighten your muscles and release tension.

STEP 2 TONE YOUR CHIN MUSCLES
One of the most popular areas of concern for women is a double chin. There are two main causes of double chins. The first is weight gain. Secondly, and most commonly, is that the muscles under our chins and along our jaw tend to weaken over time, causing sagging. Here’s how you can use your facial roller to help restrengthen these muscles: placing your roller under your chin, gently lift all the way up to the bottom of your lips. This will tone your muscles and sculpt your chin.

STEP 3 SCULPT YOUR JAWLINE
We tend to develop jaw tension from clenching our teeth which can make it harder to contour our faces. By using a facial roller, you can temporarily change the shape of your face by using it to relax your jawline. Afterward, your skin will look more sculpted and lifted in places where it tends to sag.
A quick facial workout also works to remove excess fluid from your face, reducing puffiness and can give you a healthy “yoga glow” without getting on your mat.
Double headed Carbonnique Roller was specially designed to fit all your facial contours, especially your jawline. The end result? Sculpting and lifting sagging skin around your jawline just became easier than ever.
Here’s how to contour around your jawline: place the two balls of your roller between your jawbone. Then, gently pull upwards toward your ears a couple of times.

STEP 4 CARVE YOUR CHEEKBONES
The same sculpting effect can be achieved on your cheekbones. Using your roller on your cheekbones instantly relaxes and tones your muscles, making your skin look healthy and radiant without contouring make up. You can really feel how the dual heads of the roller remodel your face with gentle pinches. The sensation you know from your facialist massage techniques.
Always remember to pull your roller upwards to lift and contour. Be sure to avoid moving it up and down too much. The upward motions of your roller should support your facial muscles, not drag against it. When rolling all the way up to your hairline where your facial muscles are attached, the movement should feel soothing and smoothing on your skin.

STEP 5 REDUCE UNDER EYE PUFFINESS
The skin under our eyes is more delicate and thin compared to the rest of our face. Lightly using your roller in this area still reduces under-eye puffiness without irritating your skin. Cooling your roller in the fridge or in a glass with ice will strengthen the de-puffing effect of the roller as coolness helps reduce swelling. Try it in the morning to feel altogether alive again!

STEP 6 LIFT YOUR BROWS AND SMOOTH FOREHEAD LINES
The muscles in your face are attached to your bones, to other muscles, and to your skin. Unlike bone, the skin is elastic and provides little resistance. Furrowing our brows ends up stretching our skin and causing wrinkles over time.
Think of the two lines that show on your forehead when narrowing your eyes. Unfortunately, smiling excessively can create the same effect so never practice making faces in your face yoga exercises! But do smile because afterall we look our best when our face is happy! The good news is that massaging your brows and forehead towards your hairline with your roller can relax your muscles. After a facial massage, the two lines, often referred to as “elevens,” between your eyes are less visible (seriously — take a before and after photo and you’ll see what we’re talking about).
Gently massage above your brow to target key pressure points , giving your brows visible temporary lift. Avoid furrowing your brows and forehead. Constantly making facial expressions causes collagen to break down in that area. Face roller is a great way to relax tension in your forehead and you will see smoothed effect immediately.

STEP 7 BOOST EFFECTIVENESS OF YOUR BEAUTY PRODUCTS WITH CRISS-CROSS MOVEMENTS
One of the most important benefits of face massage is increased circulation. Stimulating your blood circulation creates a healthy, radiant glow on your complexion. But that’s not all. It turns out, massaging your face after applying skincare products has actually been proven to increase the effectiveness of the active ingredients on your skin. In other words, combining a face massage with your favorite skincare products is highly beneficial to your skin.
We recommend finishing your massage in gentle criss-cross movements to help your skincare products penetrate deeper into your skin.
Facial rollers feel really good. The naturally-cold ceramics of the Carbonnique Roller provide an instant cooling action the moment they press against your skin, and their rolling action glides efficiently to offer gentle pressure evenly over your face. The result? A massage that’s fun and joyful, and a complexion that’s noticeably more radiant and contoured.
Pro tip: use a facial roller next time you’re in need of some mood-enhancing and a moment for a pause!
STEP 8 REDUCE PUFFINESS AND REMOVE TOXINS WITH LYMPHATIC DRAINAGE MASSAGE
Are you tired of your puffy face? Yes, getting the ball rolling will help with that too!
The lymphatic system is responsible for detoxing your body; when your lymph drainage is weak, unwanted toxins lay stagnant and take the place of healthy nutrients and oxygen that could be contributing to healthy skin. It can also hold on to excess fluids, making our face and body look puffy and bloated.
Dull skin, dryness, reactive skin, and even hyper-pigmentated skin are also associated with having a weak lymphatic system. Thankfully, simply using a facial roller can help our lymphatic system collect excess fluids and toxins from the body and ushers them out through the kidneys, liver, and bladder.
By using the facial roller on our lymph nodes, we can drain these fluids and look more contoured and radiant. Our lymph nodes lie in several key spots around our face and neck, including at the base of our nose, around our mouth, around our jaw, underneath our chin, right behind our ears, and the back of our neck. While facial rolling, try to massage toward those key spots for maximum effectiveness but don’t forget that this time you need to take your roller down!
Similar to a face-lifting massage, start your lymphatic drainage massage by rolling up your jawline and cheekbone to your ear.

Then, take the roller close to your ear where your lymph nodes are located. To help the excess fluid find a way into the lymphatic system, roll down to your collarbone.

Repeat 3–4 times on each side. This quick massage instantly drains the excess fluid in these areas into your lymph nodes where they’re detoxed, leaving your face feeling reinvigorated and alive.
Have some questions about the Carbonnique Roller? Click here to learn more.